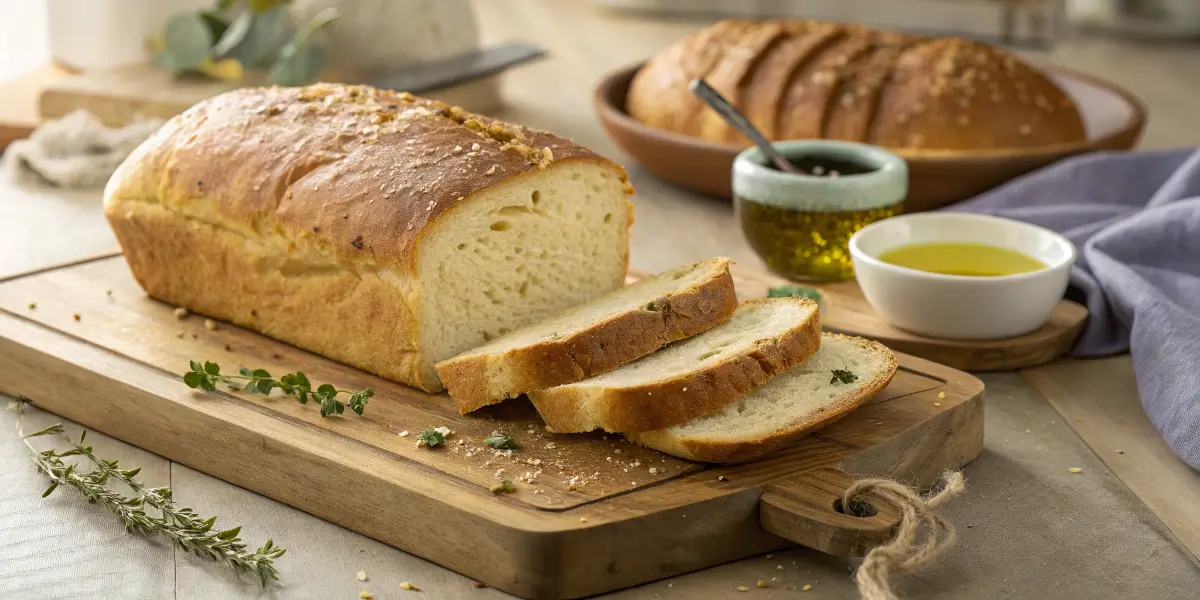
Who doesn’t love the smell of freshly baked vegan bread wafting through the kitchen? As a vegan, I know how tricky it can be to find a bread recipe that’s not only dairy-free but also irresistibly fluffy, flavorful, and perfect for every occasion. That’s why I’m thrilled to share this foolproof vegan bread recipe with you. Whether you’re a seasoned baker or a complete beginner, this recipe is designed to deliver bakery-style results right in your own home. From hearty sandwiches to warm slices slathered with vegan butter, the possibilities are endless. Ready to turn your kitchen into a vegan bread lover’s paradise? Let’s get started!
Key Benefits of This Vegan Bread Recipe
If you’re looking for a vegan bread recipe that’s easy, healthy, and full of flavor, this vegan bread recipe is a game-changer. Whether you’re new to vegan baking or a seasoned pro, this homemade vegan bread will steal your heart—and your taste buds! Here’s why this recipe is truly special:
- Healthier and More Sustainable: This bread is 100% dairy-free and egg-free, making it the perfect option for anyone following a plant-based diet or those with food allergies. Not only does it cater to vegans, but it’s also a healthier alternative to store-bought bread, which often contains preservatives and artificial ingredients. With whole, natural ingredients like plant-based milk, olive oil, and yeast, you’re getting a loaf that’s packed with goodness.
- Super Easy and Beginner-Friendly: If you’ve never made bread before, don’t worry! This recipe is incredibly simple to follow and doesn’t require any special equipment. Whether you’re new to baking or just looking for a quick and easy recipe, this one is for you. With just a few basic ingredients and some patience for the dough to rise, you’ll have a fresh loaf of homemade bread in no time.
- Versatile and Customizable: This recipe is wonderfully adaptable! You can play around with the ingredients to suit your tastes and dietary needs. Swap in whole wheat flour for a heartier loaf, or add in seeds like sunflower or sesame for extra texture. You can even experiment with herbs for a savory twist. The best part? You’re in control of exactly what goes into your bread.
- Perfect for Any Meal: Whether you’re making toast for breakfast, enjoying a warm sandwich at lunch, or pairing a slice with a cozy soup for dinner, this bread can be used in so many ways. It’s the perfect companion to any meal, and there’s nothing quite like the feeling of biting into a fresh, homemade loaf.
Making this vegan bread is more than just a baking project—it’s a step toward a healthier, more conscious way of cooking. Plus, the smell of fresh bread filling your home is an added bonus! Ready to dive in and give it a try? Let’s get baking! ✨
Ingredients for the Perfect Vegan Bread
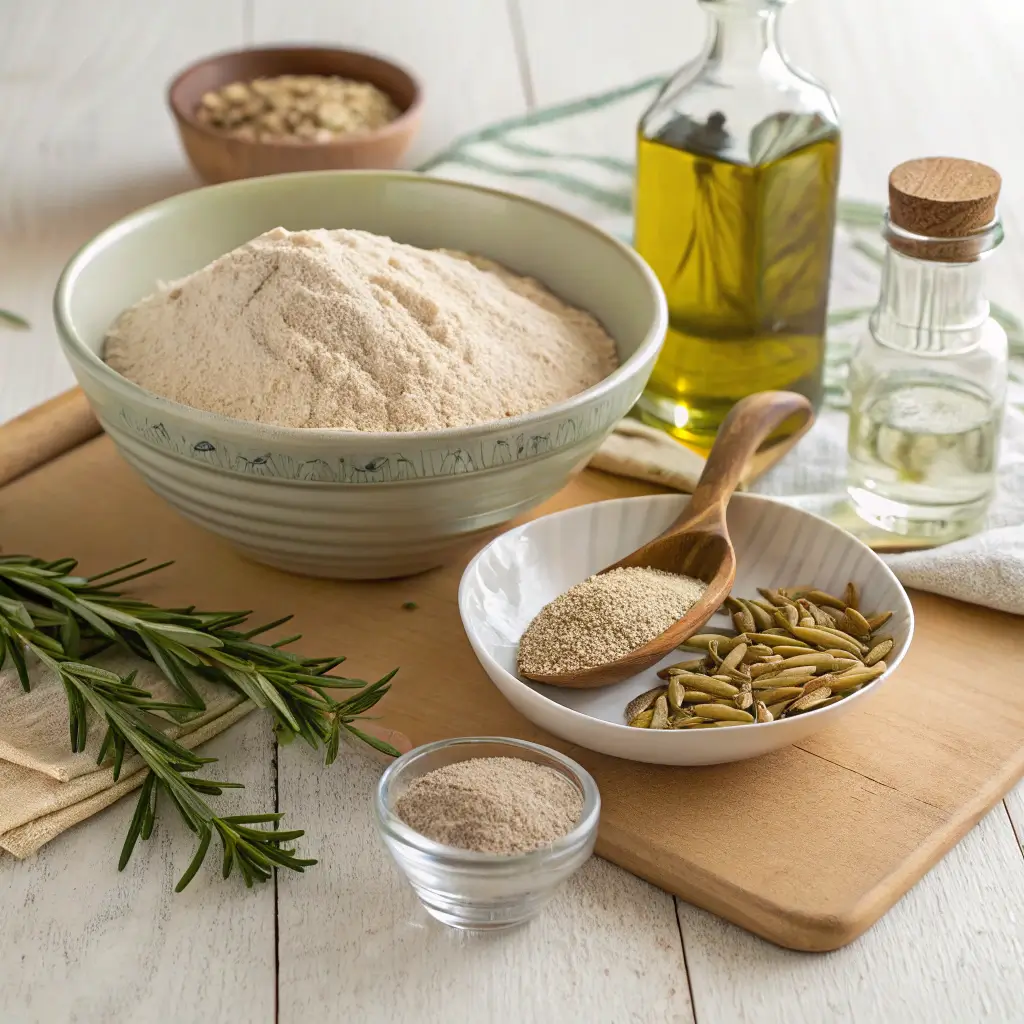
When it comes to baking homemade vegan bread, the beauty lies in simplicity. This recipe uses basic ingredients that come together to create a soft, fluffy loaf with just the right texture. Here’s everything you’ll need to make this delicious plant-based bread from scratch:
Essential Ingredients:
- 3 cups all-purpose flour
This is the backbone of your bread. You can also experiment with whole wheat flour for a denser, heartier texture. If you’re looking to try something gluten-free, a gluten-free flour blend will work too. Just remember to add xanthan gum to help with texture! - 2 1/4 tsp active dry yeast (1 packet)
The yeast is the secret to making the bread rise. It’s a living organism that ferments the dough, creating air pockets and making the bread fluffy. Make sure your yeast is fresh and active, as expired yeast will prevent the bread from rising properly. - 1 tbsp sugar
Sugar isn’t just for sweetness—it helps activate the yeast. It gives the yeast a little “boost” to start working its magic and helps the dough rise. Don’t worry, it won’t make the bread sweet. - 1 tsp salt
Salt brings out the flavors in the bread and balances the natural yeastiness. You can use sea salt or Himalayan pink salt for a slightly different flavor, but regular table salt works just fine. - 1 cup warm plant-based milk
Choose your favorite plant-based milk—almond, oat, or soy milk all work well. The milk needs to be warm, not hot, to activate the yeast without killing it. Aim for a temperature between 100°F to 110°F (37°C to 43°C). - 2 tbsp olive oil or melted vegan butter
This adds moisture and helps create that soft, melt-in-your-mouth texture. If you prefer a buttery flavor, go for vegan butter. Olive oil will add a subtle, savory taste.
Optional Add-ins:
To make your bread even more special, try adding a few extras for texture and flavor:
- Seeds: Add 1-2 tbsp of sunflower, sesame, or flax seeds to the dough for crunch.
- Herbs: Try adding a pinch of dried rosemary or thyme for a savory, aromatic twist.
- Vegan-friendly sweeteners: If you prefer a touch of sweetness, consider adding a tablespoon of maple syrup or agave nectar.
With these simple yet powerful ingredients, you’re on your way to making a delicious loaf that’s not only vegan but incredibly tasty too. Keep these essentials on hand, and you’ll be baking fresh bread at home whenever the craving strikes!
How to Make Vegan Bread: Step-by-Step Guide
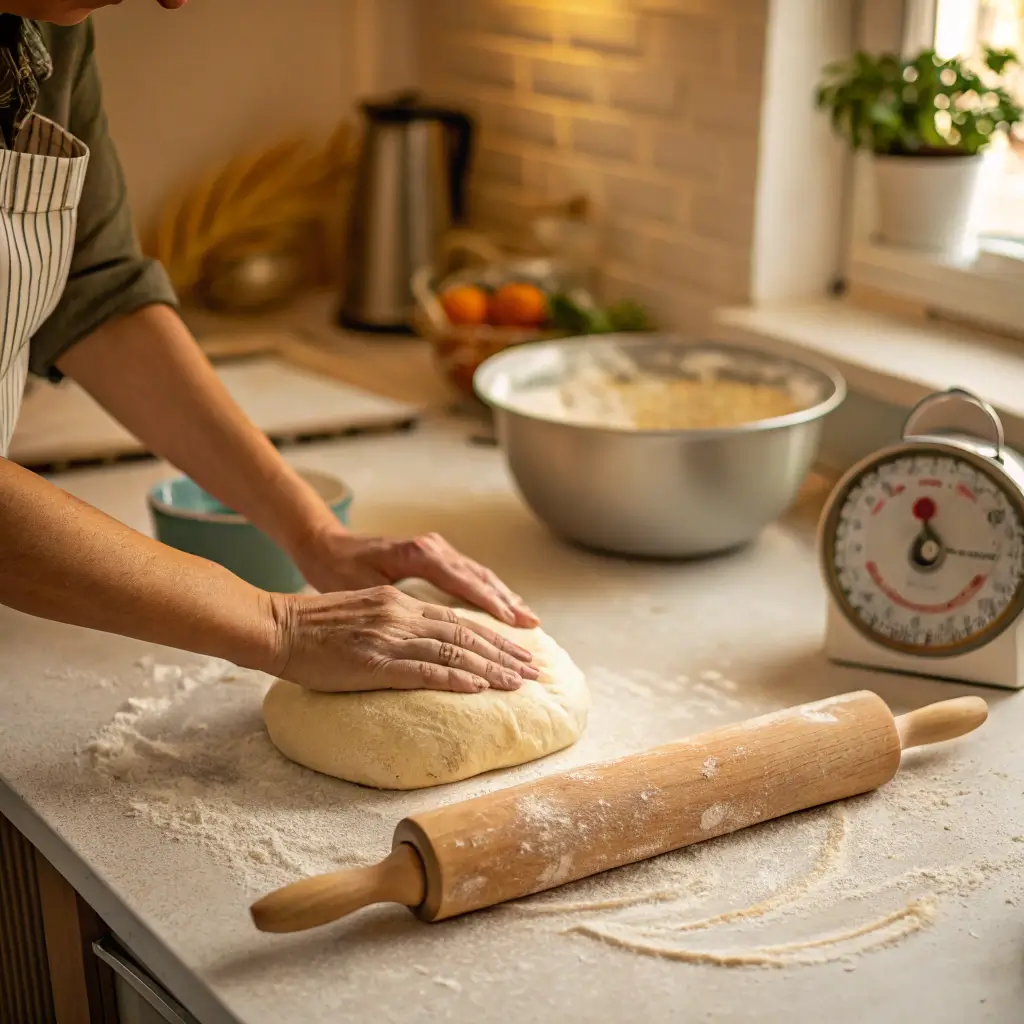
Now that you’ve gathered all your ingredients, it’s time to dive into the fun part—baking! Follow these simple steps to create a perfectly fluffy, golden loaf of vegan bread. Trust me, it’s easier than you might think!
1. Activate the Yeast
The first step is to activate the yeast, which is essential for the dough to rise properly. This is how you do it:
- Warm the water: In a small bowl, combine warm water (not too hot—around 110°F or 43°C) with sugar. The warmth helps the yeast bloom, and the sugar provides food for the yeast.
- Add the yeast: Sprinkle the yeast over the water and stir gently. Let it sit for about 5–10 minutes until the mixture becomes frothy. This shows that the yeast is working!
2. Mix the Dry Ingredients
In a large mixing bowl, combine the following:
- Flour: Use all-purpose flour for a soft, airy texture, or opt for whole wheat for a denser loaf. You can even try gluten-free flour for a different twist!
- Salt: Add a pinch of salt for flavor balance.
- Optional seasonings: If you like, you can add garlic powder, herbs, or spices for extra flavor in your bread.
Stir these ingredients together until they’re well incorporated.
3. Combine the Wet and Dry Ingredients
Once your yeast mixture is ready, add it to the dry ingredients. Also, add any oil or liquid you’re using (like olive oil, plant-based butter, or applesauce). Mix everything together until a dough begins to form. You can use a spoon to start, and then switch to your hands for a better feel.
4. Knead the Dough
Now it’s time to knead the dough. This step is key to developing the bread’s texture. Here’s how to do it:
Turn the dough out onto a lightly floured surface.
Use the heels of your hands to push the dough away from you, then fold it back over itself.
Keep kneading for about 8–10 minutes, or until the dough is smooth and elastic.
If the dough feels too sticky, add a little more flour, but don’t overdo it. A slightly tacky dough is perfect.
5. Let the Dough Rise
Now, place the dough in a lightly oiled bowl and cover it with a damp cloth or plastic wrap. Allow it to rise in a warm, draft-free area for about 1-1.5 hours, or until it has doubled in size. Be patient—this is when the yeast is working its magic!
6. Shape the Dough
Once your dough has risen, it’s time to shape it into a loaf. Punch down the dough gently to release any air bubbles. Then, shape it into a loaf by folding the sides in and rolling it up tightly. Tuck the ends underneath to form a neat loaf.
7. Second Rise
Let the shaped dough rest on a baking sheet or in a loaf pan for another 30-45 minutes. This gives it one more opportunity to rise before baking. You’ll know it’s ready when it looks puffy and slightly larger than before.
8. Bake the Bread
Preheat your oven to 375°F (190°C).
Place the loaf in the oven and bake for about 30-35 minutes, or until the top is golden brown and the loaf sounds hollow when tapped on the bottom.
For an extra crispy crust, consider brushing the top with a little plant-based butter or olive oil right before baking.
9. Cool and Enjoy
Once baked, remove the bread from the oven and let it cool on a wire rack. As tempting as it is, allow it to cool for at least 15 minutes before slicing—this helps the bread set and prevents it from being too gooey in the middle. Slice and enjoy your homemade vegan bread!
With these clear, easy-to-follow steps, you’re well on your way to baking a beautiful loaf of vegan bread. The key to success here is patience—let the dough rise, knead it well, and bake with love. I promise the result will be worth the wait
Pro Tips and Variations for the Best Vegan Bread
While this vegan bread recipe is simple and straightforward, there are a few expert tips and tricks that can elevate your baking game. Whether you’re looking to customize your bread or perfect your technique, these pro tips will ensure your loaf turns out absolutely delicious every time.
Pro Tips for Perfect Vegan Bread
- Use Room Temperature Ingredients
For the best results, use room temperature plant-based milk and olive oil. Cold ingredients can slow down the yeast’s activation, which may lead to a denser loaf. Take the milk and oil out of the fridge about 30 minutes before starting the recipe. - Knead Just Enough
Kneading the dough for the right amount of time is crucial for achieving a soft, airy texture. Over-kneading can make the bread tough, while under-kneading may leave it too dense. Aim for 8-10 minutes of kneading to ensure the dough is smooth and elastic. - Don’t Rush the Rising Process
Both proofing steps are key to achieving a fluffy loaf. If your dough isn’t rising as fast as you’d like, try placing it in a warmer spot—like near a heater or in your oven with the light on. However, be patient! The yeast needs time to work, and rushing the process can result in flat bread. - Give Your Bread a Steam Boost
For a crisp, golden crust, add steam to your baking environment. Simply place a small pan of water on the bottom rack of the oven while the bread bakes. This will create steam, helping the crust form beautifully while keeping the inside soft.
Delicious Variations to Try
Now that you’ve mastered the basics, why not try some fun variations? Here are a few ideas to make your vegan bread even more exciting:
- Herb-Infused Bread
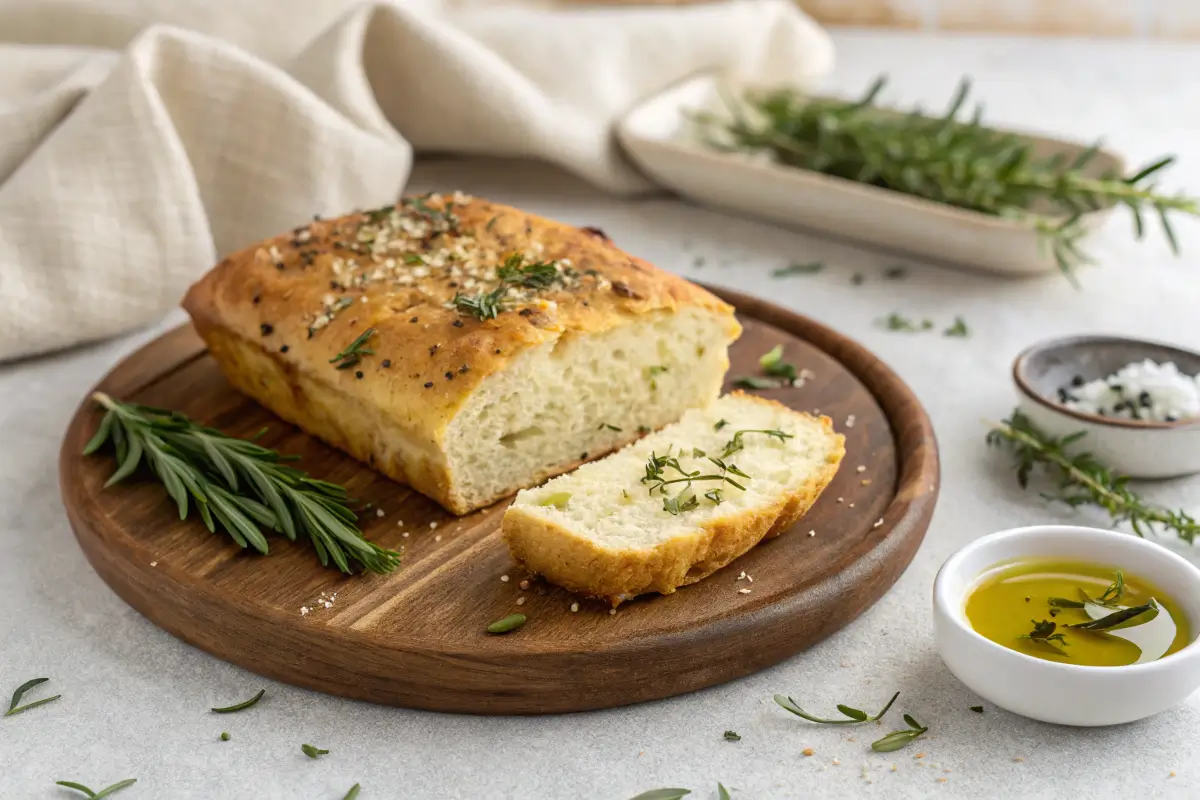
Add a tablespoon of dried rosemary, thyme, or oregano to the flour mixture for a savory, aromatic loaf. Fresh herbs will work too—just chop them finely and knead them into the dough. This is perfect for serving with pasta dishes or soups! - Seeded Bread
Want a little crunch? Sprinkle sunflower, sesame, or pumpkin seeds on top of your bread before baking. You can also mix them into the dough for extra texture and nutrition. Not only does it look beautiful, but the seeds add healthy fats and a lovely nutty flavor. - Sweet Variations
If you’re craving a sweeter loaf, add 1-2 tablespoons of maple syrup or agave nectar to the dough. You can also sprinkle cinnamon and sugar over the dough before rolling it up for a warm, spiced twist. This variation pairs perfectly with a cup of tea or coffee! - Gluten-Free Option
If you’re following a gluten-free diet, you can easily adapt this recipe. Just swap the all-purpose flour with a gluten-free flour blend (make sure it includes xanthan gum for structure). Keep in mind that the texture may be slightly different, but the bread will still be delicious!
Troubleshooting Tips
Sometimes baking bread can be a bit finicky, so here are a few common issues and how to fix them:
- Bread Won’t Rise: If your dough isn’t rising, it could be because the yeast was expired or the room temperature was too cold. Try warming up the environment for the dough or using fresh yeast.
- Dense Bread: If your bread turns out dense, it could be due to under-kneading or not letting it rise long enough. Be sure to knead until the dough is smooth and let it rise fully during both proofing stages.
- Flat Loaf: If your loaf is flat, the dough might have been overworked or the yeast didn’t activate properly. Double-check the yeast before you start, and be gentle when shaping the dough.
By using these tips and experimenting with the variations, you’ll be able to make this vegan bread your own. The best part is that you can customize it to suit your flavor preferences—whether you’re in the mood for something savory, sweet, or a little nutty. Happy baking!
Serving Suggestions for Your Vegan Bread
Now that your vegan bread is fresh out of the oven and cooled to perfection, it’s time to serve it up! Whether you’re enjoying it on its own or pairing it with your favorite dishes, this homemade bread will become a staple in your kitchen. Here are some simple yet delicious ways to serve your vegan bread and get the most out of every loaf.
1. Classic with Vegan Butter
For a simple, satisfying snack, slice your bread and spread a generous layer of vegan butter on top. The rich, creamy butter melts perfectly into the warm, fluffy bread. You can also sprinkle a pinch of sea salt for an extra flavor boost. It’s a comforting treat that’s hard to resist!
2. Vegan Sandwiches
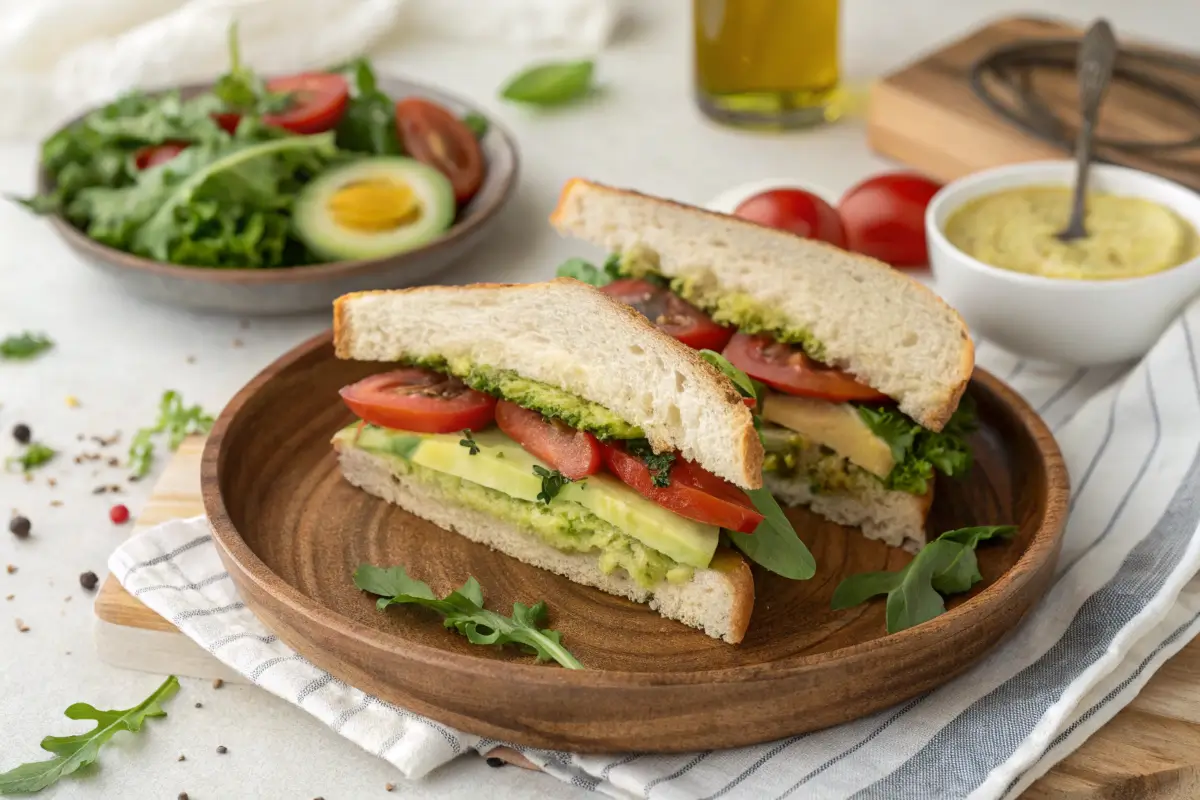
This bread is perfect for making vegan sandwiches! Whether you’re layering it with roasted veggies, avocado, hummus, or vegan cheese, the soft texture and slight crispness from the crust make it an ideal base for any sandwich. Here are a few ideas:
- Avocado & Hummus Sandwich: Spread hummus on both slices, then top with creamy avocado, sprouts, and a squeeze of lemon.
- Grilled Veggie Sandwich: Roast a mix of peppers, zucchini, and eggplant, then pile them onto your bread with some basil pesto.
3. Toast with Toppings
Toast takes vegan bread to a whole new level! Slice your bread and pop it in the toaster or under the broiler for a crispy, golden finish. Then, top it with a variety of toppings to suit your taste:
- Sweet Option: Spread almond butter and drizzle with maple syrup for a delicious, naturally sweet treat.
- Savory Option: Top your toast with sautéed mushrooms, garlic, and fresh herbs for a warm, savory bite.
4. Perfect for Dipping
Vegan bread also makes an excellent accompaniment to soups, stews, and salads. Cut your loaf into thick slices and serve it alongside your favorite plant-based soups like lentil soup, tomato basil soup, or a hearty vegetable stew. The bread’s texture is perfect for dipping into flavorful broths, making every bite comforting and satisfying.
5. Make Vegan Croutons
Don’t let leftover bread go to waste! Cut your vegan bread into cubes, drizzle with olive oil, garlic powder, and a sprinkle of sea salt, then toast them in the oven until crispy. These homemade croutons are perfect for adding texture to salads or soups. You can even season them with herbs like rosemary or thyme for extra flavor.
6. Vegan French Toast
Take your homemade vegan bread to the next level by making vegan French toast! Simply whisk together some plant-based milk, cinnamon, and a splash of vanilla extract. Dip your slices of bread into the mixture and cook on a hot griddle until golden brown. Serve with fresh berries, maple syrup, or even a dollop of vegan whipped cream for an indulgent breakfast or brunch.
7. Make Vegan Bread Pudding
For a cozy, dessert-worthy option, transform your leftover vegan bread into a sweet bread pudding. Cube the bread and soak it in a mixture of plant-based milk, sugar, cinnamon, and a pinch of nutmeg. Bake until golden and serve with a drizzle of vegan caramel sauce. It’s a delicious way to use up any leftover bread while satisfying your sweet tooth!
There you have it—so many ways to enjoy your freshly baked vegan bread! Whether you’re keeping it simple with butter or turning it into a show-stopping dish like vegan French toast, this versatile loaf can fit any occasion. Let your creativity shine and experiment with different toppings and pairings to make this bread your own. Enjoy!
Conclusion – Why You’ll Love This Vegan Bread Recipe
Congratulations! You’ve just baked a delicious loaf of vegan bread that’s not only easy to make but also incredibly versatile and satisfying. Whether you’re enjoying it as a simple snack, using it in sandwiches, or pairing it with soups, this vegan bread will quickly become a staple in your kitchen. Let’s recap why this recipe is a must-try:
1. Simple, Wholesome Ingredients
This vegan bread recipe uses basic, plant-based ingredients that are easily found in most kitchens or local grocery stores. With flour, yeast, water, and a pinch of salt, you can create a fresh loaf that’s free from any animal products or artificial additives.
2. Customizable to Your Taste
One of the best things about this vegan bread is its adaptability. You can tweak the recipe by adding herbs, seeds, nuts, or even dried fruits to give it a unique twist. The possibilities are endless, and you can easily tailor the bread to suit your preferences.
3. Perfect for Beginners
If you’re new to baking, this vegan bread recipe is the ideal place to start. With clear, step-by-step instructions, you’ll feel confident while making it. Plus, the process is forgiving, so even if your loaf isn’t perfect, it will still taste amazing!
4. Healthy and Nourishing
This bread is not only vegan, but it’s also a wholesome option packed with natural ingredients. It’s a great choice for anyone looking to reduce their intake of processed foods or try a plant-based diet. You can even make it whole grain by swapping some of the white flour for whole wheat flour for added fiber and nutrients.
5. Endless Serving Possibilities
As we’ve explored, this bread can be enjoyed in so many ways! Whether it’s as a sandwich, toast, or paired with soups and stews, this bread can adapt to any meal. It’s the perfect addition to breakfast, lunch, or dinner and is guaranteed to please anyone at the table.
Give It a Try and Enjoy!
We hope you’re as excited to bake this bread as we are! It’s a recipe that combines simplicity with flavor and endless possibilities. Don’t be afraid to experiment with your favorite ingredients, and share your creations with friends and family. We’d love to hear how you’re enjoying your vegan bread.
Happy baking, and remember – with every slice, you’re one step closer to mastering the art of vegan baking.
FAQs – Your Vegan Bread Questions Answered!
Baking vegan bread can raise a lot of questions, especially for beginners. But don’t worry, we’ve got you covered! Here are some common queries you might have as you prepare your delicious loaf. Let’s dive in!
1. Can I substitute the all-purpose flour with another flour?
Yes, you can! While all-purpose flour is the base of this recipe, there are many substitutions you can try. Here are a few options:
Whole wheat flour: Offers a richer, denser texture. If using whole wheat, you might need to add a little more water to the dough.
Gluten-free flour: If you’re avoiding gluten, opt for a gluten-free flour blend. Just make sure it includes xanthan gum or guar gum to help with the structure.
Spelt flour: This is a great alternative that gives a slightly nutty flavor, similar to whole wheat but softer in texture.
Keep in mind, if you’re using any flour other than all-purpose, the bread’s texture might change a bit, but it will still be delicious!
2. What should I do if my bread doesn’t rise as expected?
A few things can prevent your bread from rising properly, but don’t fret! Here are some troubleshooting tips:
Yeast quality: Ensure your yeast is fresh. If it’s old or expired, it may not activate properly. Try testing it with a bit of warm water and sugar—if it bubbles within 10 minutes, it’s good to go.
Temperature matters: Yeast loves warmth, so make sure your dough rises in a warm, draft-free area. If your kitchen is chilly, consider placing the dough in an oven with just the light on, or near a warm window.
Kneading: Over-kneading can make your bread denser and inhibit rising. Be gentle with your dough during the kneading process.
3. Can I make this recipe without oil?
Yes, absolutely! This vegan bread recipe can be made without oil if you prefer a lighter option. You can replace the oil with:
Applesauce: This adds moisture and a subtle sweetness.
Nut butters: Almond, cashew, or peanut butter work wonderfully in this recipe, adding richness and flavor.
Aquafaba: The liquid from a can of chickpeas can replace oil for a lighter, plant-based alternative.
4. How can I make the bread crustier?
If you’re craving a crustier loaf, try the following:
Steam: During the first 10 minutes of baking, add a shallow pan of water to the oven to create steam. This helps develop a crispy, golden crust.
Higher baking temperature: Bake your bread at a higher temperature for the first 15 minutes (around 425°F or 220°C), then lower it to 375°F (190°C) for the rest of the baking time. This gives the loaf a lovely, crunchy crust.
5. How do I store leftover bread?
To keep your homemade bread fresh, follow these storage tips:
Room temperature: After your bread has cooled, store it in an airtight container at room temperature for 2–3 days. Avoid wrapping it in plastic as this can make the crust soggy.
Freezing: For longer storage, slice your bread and freeze individual pieces. When you’re ready to enjoy, simply toast or heat it up. It will taste just as fresh!
_____________________________
Vegan Bread Recipe
Ingredients
3 cups all-purpose flour
- This is the backbone of your bread. You can also experiment with whole wheat flour for a denser heartier texture. If you’re looking to try something gluten-free, a gluten-free flour blend will work too. Just remember to add xanthan gum to help with texture!
- 2 1/4 tsp active dry yeast 1 packet
- The yeast is the secret to making the bread rise. It’s a living organism that ferments the dough creating air pockets and making the bread fluffy. Make sure your yeast is fresh and active, as expired yeast will prevent the bread from rising properly.
1 tbsp sugar
- Sugar isn’t just for sweetness—it helps activate the yeast. It gives the yeast a little “boost” to start working its magic and helps the dough rise. Don’t worry it won’t make the bread sweet.
1 tsp salt
- Salt brings out the flavors in the bread and balances the natural yeastiness. You can use sea salt or Himalayan pink salt for a slightly different flavor but regular table salt works just fine.
1 cup warm plant-based milk
- Choose your favorite plant-based milk—almond oat, or soy milk all work well. The milk needs to be warm, not hot, to activate the yeast without killing it. Aim for a temperature between 100°F to 110°F (37°C to 43°C).
2 tbsp olive oil or melted vegan butter
- This adds moisture and helps create that soft melt-in-your-mouth texture. If you prefer a buttery flavor, go for vegan butter. Olive oil will add a subtle, savory taste.
Optional Add-ins:
- To make your bread even more special try adding a few extras for texture and flavor:
Seeds: Add 1-2 tbsp of sunflower, sesame, or flax seeds to the dough for crunch.
Herbs: Try adding a pinch of dried rosemary or thyme for a savory, aromatic twist.
Vegan-friendly sweeteners: If you prefer a touch of sweetness, consider adding a tablespoon of maple syrup or agave nectar.
Instructions
- Step 1: Activate the Yeast
- In a small bowl, combine the warm plant-based milk and sugar. Sprinkle in the yeast and let it sit for 5-10 minutes until it becomes frothy. This step is essential for ensuring your bread rises well.
- Step 2: Mix the Dough
- In a large mixing bowl, combine the flour and salt. Add the yeast mixture and olive oil (or melted vegan butter). Stir until the dough comes together.
- Step 3: Knead the Dough
- On a lightly floured surface, knead the dough for about 8-10 minutes until it’s smooth and elastic. Don’t worry if it’s slightly sticky—just add a little flour if needed.
- Step 4: First Proof
- Place the dough in a greased bowl and cover it with a clean towel. Let it rise for about 1-2 hours, or until it has doubled in size.
- Step 5: Shape the Loaf
- Once the dough has risen, punch it down and shape it into a loaf. Place it in a greased loaf pan and let it rise again for about 30-40 minutes.
- Step 6: Bake
- Preheat your oven to 375°F (190°C). Once the dough has finished rising, bake it for 25-30 minutes, or until the top is golden brown and the loaf sounds hollow when tapped.
- Step 7: Cool and Serve
- Allow the bread to cool for 10-15 minutes before slicing. Enjoy it warm or store it for later!
Notes
- Calories: 160
- Fat: 6g
- Saturated Fat: 1g
- Carbohydrates: 24g
- Fiber: 3g
- Sugar: 3g
- Protein: 4g
- Sodium: 230mg
- Potassium: 150mg
